
You will find great joy in growing plants that you have started from seeds yourself. These seed-starting tips are perfect for beginners to implement to achieve the best results.
Table of Contents
Equipment
What you need: Seed starting tray, cell packs, seed starting mix, and water.
Seed Trays
Typical seed trays will have holes for drainage and or individual cells that sit in a tray and should include a humidity dome. You can purchase trays with no holes to place cell packs in.
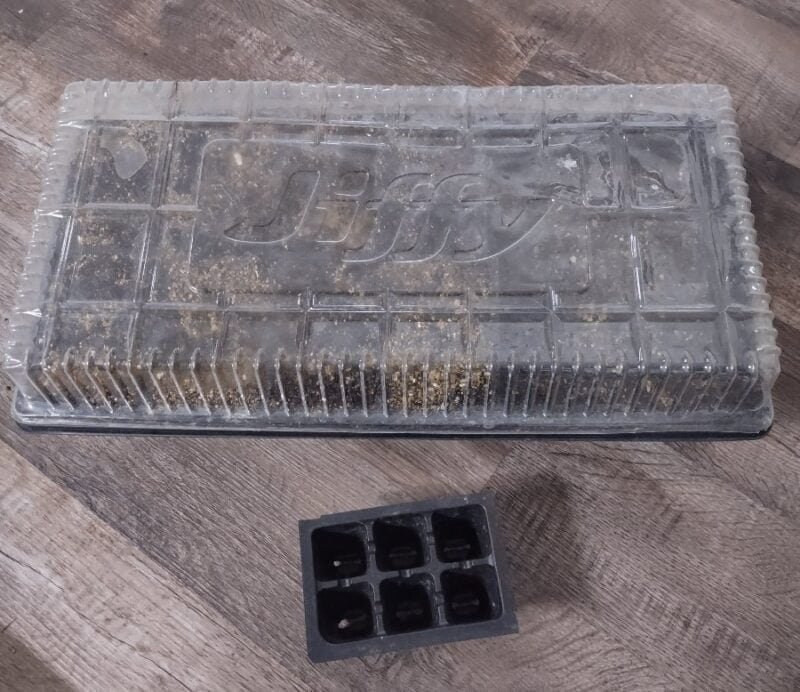
You can use many different things to start seeds. I’ve used take-out containers with clear tops, a hanging basket, and “party trays” with one on top for the dome (pictured below).
A humidity dome can be a clear plastic cover, a baggie, or even plastic wrap. Each of those depends on the container you’ve chosen. If you use plastic wrap, place something under it to keep it from touching the seedlings as they sprout.

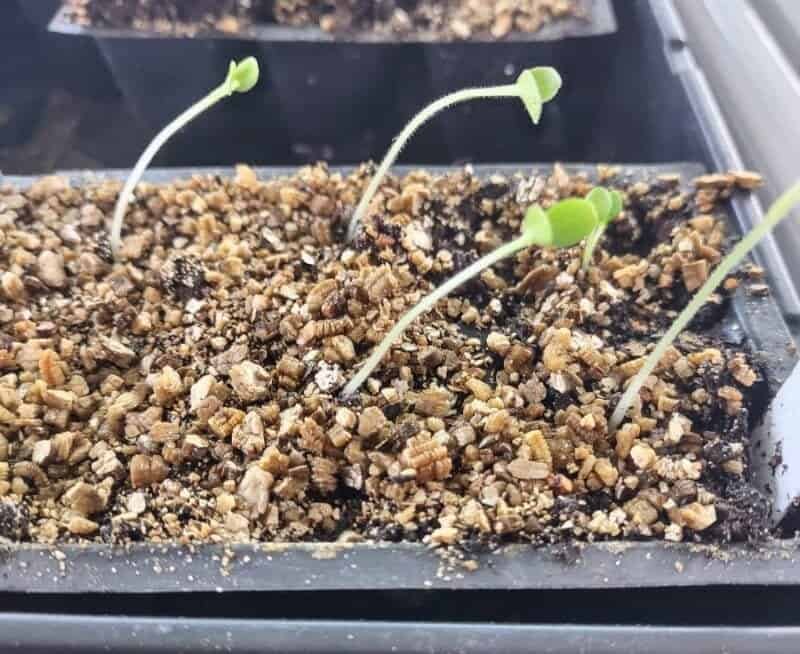
In the image above, I’ve scattered the seeds across the soil. Sowing this way, instead of into individual cells, will involve pricking the seedlings out before they get too large. That is a topic for another time.
Soil
Use a soil mix specifically for seed starting that is readily available in stores locally. These mixes do not have chunks of bark that prohibit the seedling from rising. They provide water retention and aeration.
Fertilizer in a seed starting mix is not necessary because seeds have everything they need until they develop their first true set of leaves. You can make your own seed starting mix if you wish. Depending on how many seeds you will be starting, it may be more economical to buy ready-made.
Timing
It is important to not start your seeds too early. Easy vegetable and flower seeds usually only need 4 to 6 weeks of growing inside to reach a size suitable for planting out. Most seed packets will tell you the number of weeks on the back.
Starting too early creates additional expenses that can be avoided.
| Soil & Containers | The plants will need to be potted into larger containers when they outgrow what they were started in. |
| Electricity | If you’re using lights (You should be) |
| Water | If you pay for water; but even on a well you’ll have added electricity cost |
| Your Time | Who doesn’t have enough to begin with? |
| Additional Pest Risk | We want the plants out ASAP. The weather outdoors helps to create stronger plants with wind and rain. |
| Weaker Plants | We want the plants out asap. The weather outdoors helps to create stronger plants with wind and rain. |
Lighting
Our winter light in zones 5 and 6 is not sufficient to grow healthy seedlings, even in a southern window. If you try to grow in front of a window, you will need to turn the container a lot. Possibly, several times a day to keep the seedlings from stretching for more light.
You do not need special plant lights. Led or fluorescent lights will work. LEDs are very cost-effective purchase-wise and easier on your electric bill. I’ve bought several of these LED lights on Amazon. (#ad)


Some seeds need light to germinate and some need darkness.
For those that need light, your seed pack will say something like “press into the soil or do not cover”. It’s important to pre-moisten the mix before placing the seeds. If you water from above, the seed could get dislodged and covered with soil.
For those that need darkness, you’ll cover them with soil at the depth recommended on the seed packet. Then, place something over the humidity dome so light can’t get through.
Germination
Germination simply means the seed has busted out of its shell. The average time for germination is around 7-10 days. Some seeds only need a few days while others can take up to a year. Some seeds need to be stratified before they can germinate.
Stratification is a required cold period for some species. Many native plants and perennials need a cold period to wake up and start growing. Your seed pack should tell you this. Some hints might be, “sow outdoors in fall”, “start inside in early winter”, “chill hours required”, or “cold moist stratification”.
Once the seeds have germinated at around 85%, take the humidity dome off and place them under lights. The lights should be about 2-3″ above the sprouts.
Watering
Your seed starting mix should be at least somewhat moist before you start sowing. As mentioned earlier, this is important for seeds that need light to germinate because you do not want to disturb their placement.
Some ready-made mixes are very dry when purchased. When peat moss loses all moisture, it becomes hyperbolic, it wants to repel moisture. In cases like this, it’s best to fill your trays and put them in a container with water so the peat moss can soak it up. This can take several hours to a few days.
If your mix is already moist, after the seeds are placed, a garden sprayer (#ad) can be used to help tighten up the mix around the seeds.
The soil should stay moist but not soaking wet. One of the biggest mistakes many beginners make is overwatering. This can lead to less oxygen for the roots, algae growing on the top, and fungal diseases.
A Shortened Recap
Seed starting isn’t complicated, you just need to give the seeds what they want, the way they want it, when they want it.
- Moist soil
- Humidity dome
- Light or darkness
- The right amount of water
Good luck and I would love to hear how your seed growing is going!